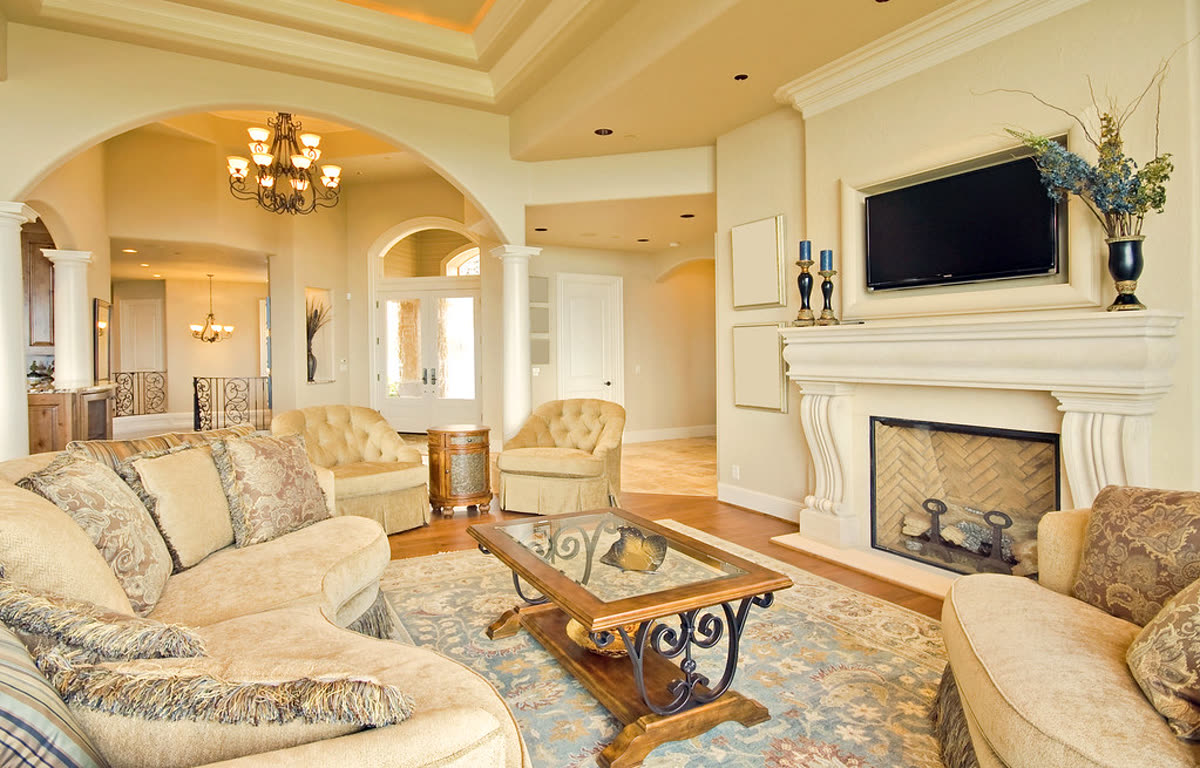
Living room, slow push-in
Real listing photo, AI camera motion, passed accuracy check
A real estate video walkthrough follows one route: outside first, then the entrance and living area, dining and kitchen, the bedrooms and bathrooms, and the yard last, with no room shown twice. You can make one from listing photos by putting the clips in that room order. It shows only what the photos show.
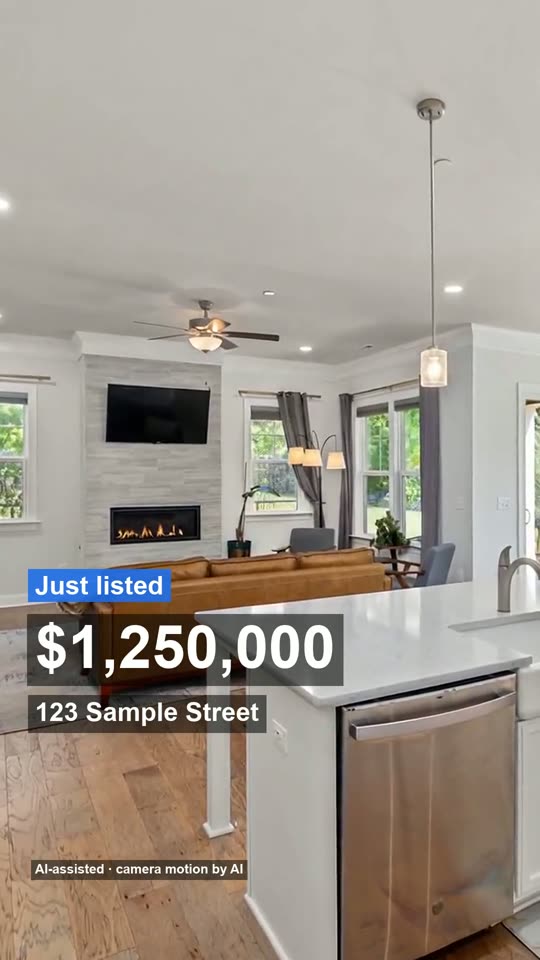
Made from 3 listing photos, no watermark. The AI moves the camera only: every room stays as photographed, nothing is added.
Each clip is one listing photo with a slow camera move, joined in room order. Compare the order of the clips with the route below.
Real listing photo, AI camera motion, passed accuracy check
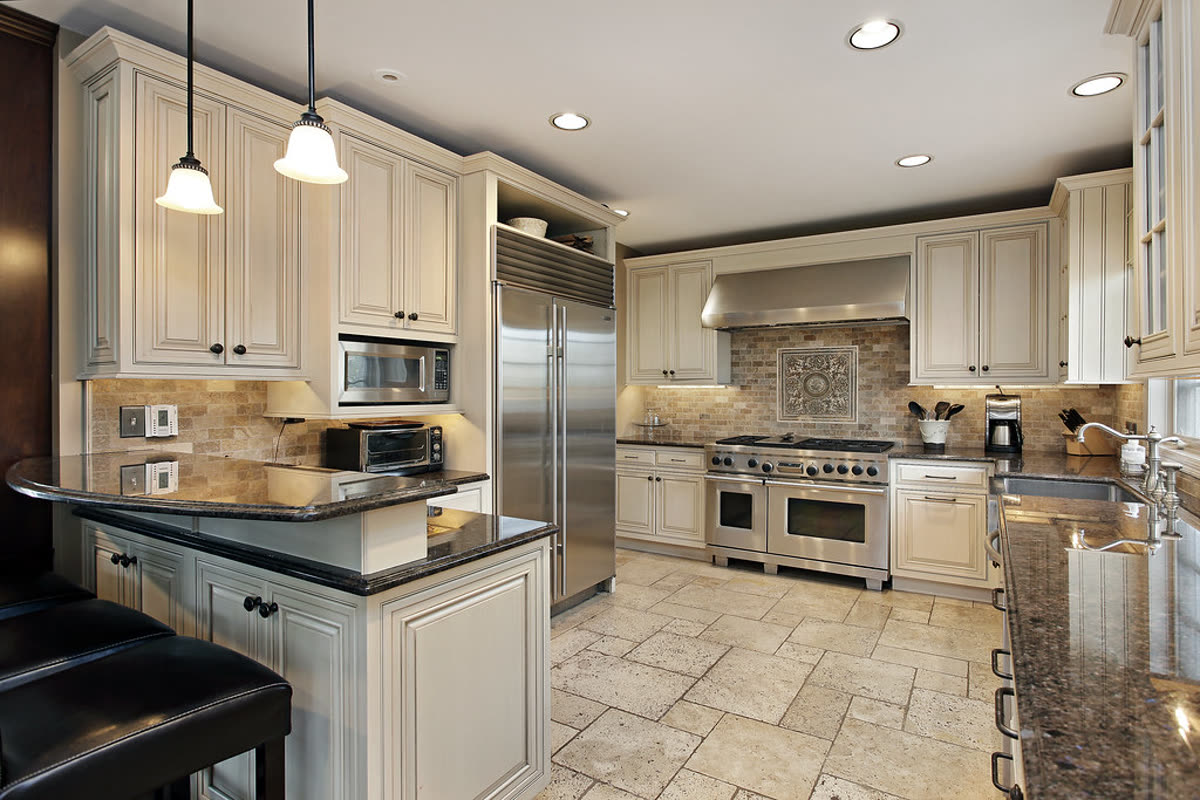
Real listing photo, passed on the second attempt after the first clip changed the countertop
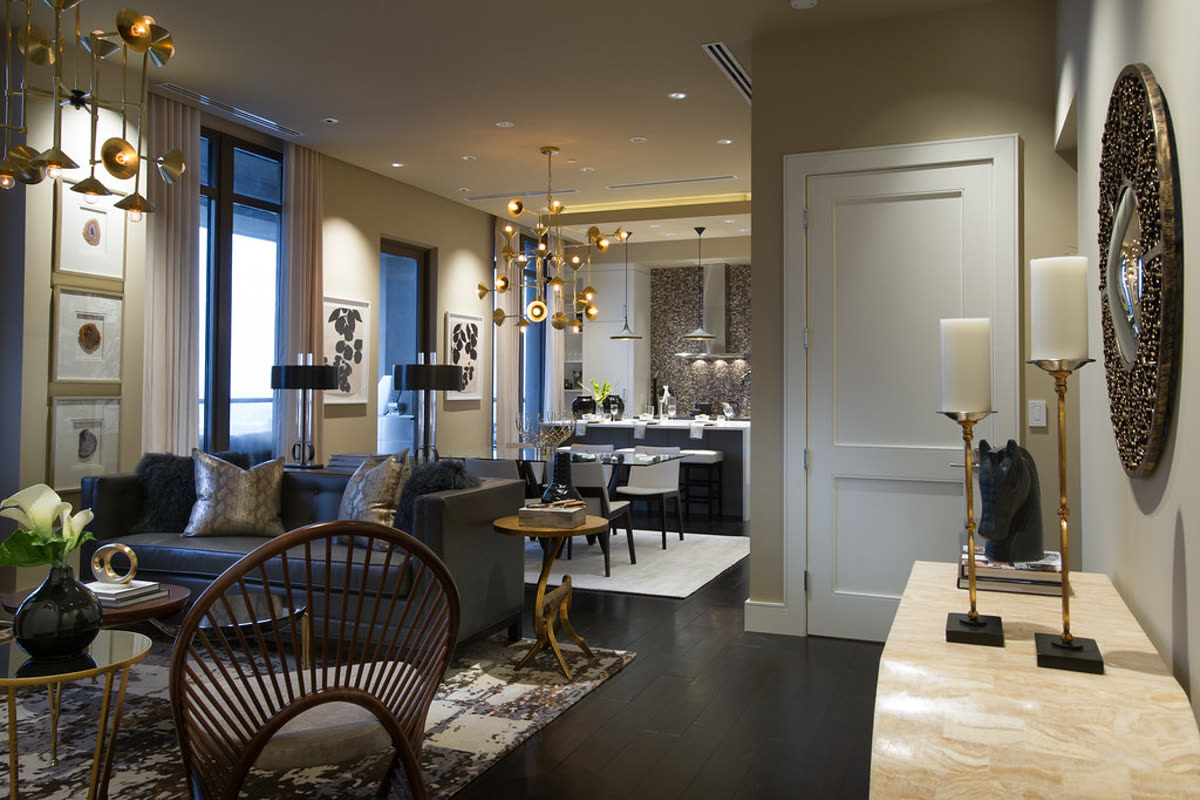
Real listing photo, AI camera motion, passed accuracy check
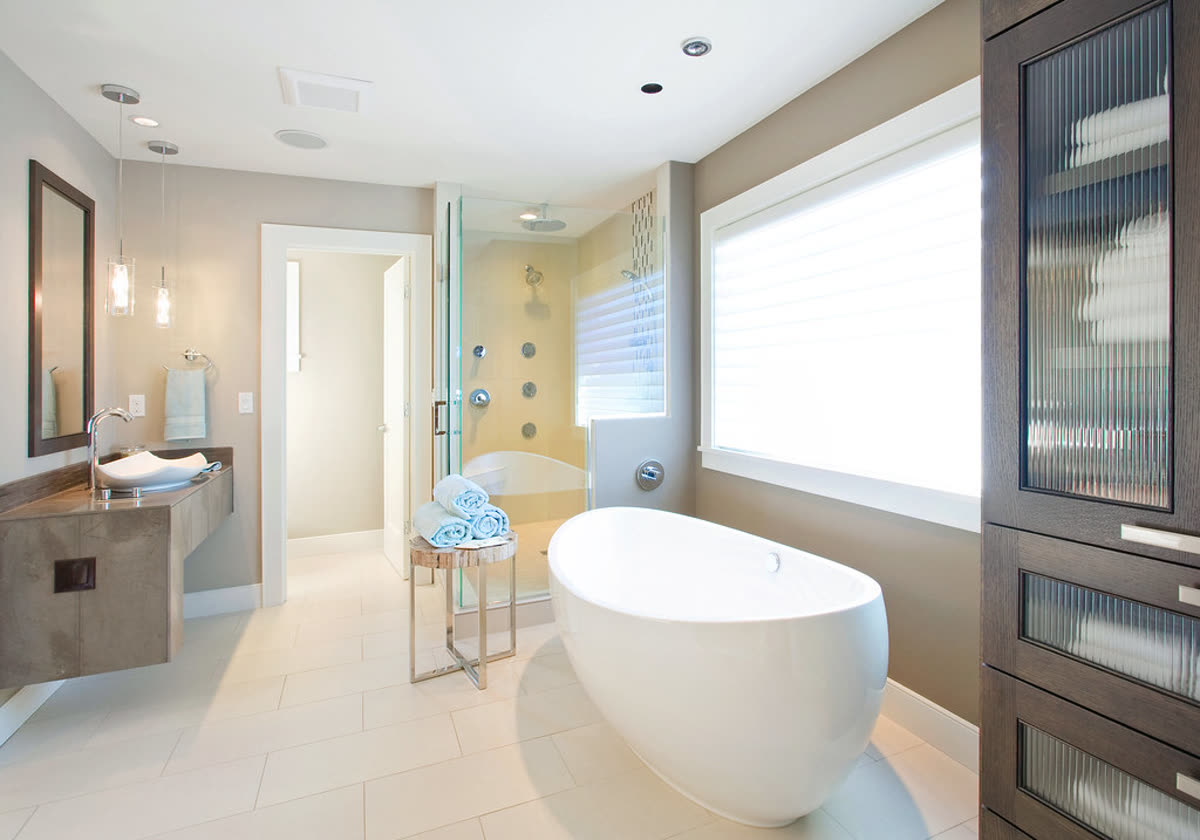
Real listing photo, AI camera motion, passed accuracy check
Buyers follow a walkthrough like a visit, so the order should read like walking through the front door. Keep one direction and never double back.
If a room was not photographed, leave it out of the route. A missing room is better than a repeated one.
From our own job records, 19 October to 14 November 2026: 116 finished videos made from 459 photos. They include our own test runs and small counts, so treat them as a trial, not a survey.
| What we counted | Number | Share |
|---|---|---|
| Finished videos | 116 | All |
| Photos sorted into walkthrough order | 459 | All |
| Photos that moved from the upload position | 121 | 26% |
| Videos where the first clip was the exterior | 99 | 85% |
| Videos where the first clip was the living area | 17 | 15% |
| Videos that ended on the kitchen | 85 | 73% |
The kitchen ended so many videos because most photo sets had no bedroom or bathroom shots: kitchens (154) and living areas (134) were far more common than bedrooms (16) and bathrooms (25). If you want to end on a bedroom or the yard, photograph it.
A 15-second reel is $4.90. The real estate video maker lists what each file contains.
| Video | Finished jobs | Median time |
|---|---|---|
| 15-second reel | 23 | about 3 minutes 40 seconds |
| Full walkthrough, 5 to 10 photos | 10 | about 8 minutes |
Median time from real jobs in the same window, test runs excluded. The slowest full video took far longer than the median, so allow extra time before an open house.
Start outside, then walk in one direction: entrance and living area, dining, kitchen, bedrooms, bathrooms, and finish on the yard or view. Do not walk back through a room you have already shown.
A short reel of about 15 seconds suits social posts. A full walkthrough of 5 to 10 photos is a minute or more and suits the listing page. Show every room a buyer will ask about, and stop there.
Yes, as a photo-based walkthrough: each photo becomes a short camera move and the clips are joined in room order. It shows only what the photos show, so it cannot show a hallway or a room you did not photograph.
No. In our tool the photos are sorted by room after upload, exterior first, then living, dining, kitchen, bedrooms and bathrooms, and the yard last. Look at the order before you pay and replace any photo that is in the wrong room.
Use vertical for Reels, TikTok and Stories, and horizontal for a listing page or a video site. The real estate video maker page lists which files each video includes.
No. A 3D tour lets the viewer move through a scanned home. A photo walkthrough is a fixed video of camera moves over your photos, with no scan and no way to choose a route.
Written 14 November 2026 by the Tourly team from our own job records (photo order and render times); the numbers will be updated as more videos finish.
Made by Tourly, a small team building listing video tools. Questions or a clip that looks wrong? Contact us.
